尝试 Nginx 上使用HTTP3
之前的文章介绍了QUIC发生了什么, QUIC 已经演变成了一个“传输层”协议。其上可以运行 HTTP 协议。
在去年6月,Nginx的官方博客发表了一篇对 HTTP3 技术的支持概览。Nginx 官方宣布了 http_v3_module 的最初版本。但这只是一个技术概览,并不建议就应用到生产环境上。关于HTTP3的支持目前还没有正式合入主线分支。是在 https://hg.nginx.org/nginx-quic 这个专门的分支上。
今年7月,Nginx又发了一篇博客,明确表示,Nginx QUIC 将于今年年底正式合入Nginx 主分支。
另外 QUIC+HTTP/3 的Nginx官方实现是和 CloudFlare 的 quiche project 并不是一个。
Nginx QUIC 支持
本文是21年7月,这个时候QUIC的第一个正式版本 RFC9000 已经正式面世2个月了,Nginx当然也对其进行了良好的支持。
当然这些都是实验性的。更多可参考 https://quic.nginx.org/readme.html
由于Nginx当前对QUIC的支持仍尚处于实验阶段。仍存在一些QUIC特性的不支持。 (1.21.x)
比如以下功能在Nginx-QUIC的当前版本中尚不支持。
- QUIC 的显示拥塞通知(ECN)
- 结构化日志
- HTTP/3 trailers
不过QUIC的相关提交也是在不断的完善当中
安装
安装环境
- 操作系统:Ubuntu 20.04.1 LTS
- 内核版本:5.4.0-77-generic
安装依赖
我们必须安装mercurial,mercurial 是一个免费的分布式源代码管理工具。Nginx 的源码正是用 mercurial 管理。
sudo apt-get install mercurial从 https://hg.nginx.org/nginx-quic. 下载nginx的代码。
cd ~/
hg clone -b quic https://hg.nginx.org/nginx-quic
安装 BoringSSL
QUIC 默认使用的是Boring SSL 来作为QUIC的 SSL 模块。它是来自Google的OpenSSL的分支,添加了quic支持。
但首先,必须安装这些依赖项来编译BoringSSL。
sudo apt-get install golang
sudo apt-get install libunwind-dev
拉取 Boring SSL 的代码。注意这个仓库很大,有250M 左右。
cd ~/
git clone https://github.com/google/boringssl
编译
cd boringssl/
mkdir build
cd build
cmake ../
make -j 16
安装其他依赖
Pagespeed
ngx_pagespeed 是Google 推出的一个 Nginx 的扩展模块,可以加速网站,减少页面加载时间,自动将一些提升web性能的实践应用到网页和相关的资源(CSS、JS和图片)上,无需修改内容和流程。
mkdir module
cd module
wget https://github.com/apache/incubator-pagespeed-ngx/archive/v1.13.35.2-stable.zip
unzip v1.13.35.2-stable.zip
mv incubator-pagespeed-ngx-1.13.35.2-stable ngx_pagespeed
然后在ngx_pagespeed文件夹中,我们必须添加pagespeed的库PSOL
cd ngx_pagespeed
sudo wget https://dl.google.com/dl/page-speed/psol/1.13.35.2-x64.tar.gz
sudo tar -xzvf 1.13.35.2-x64.tar.gz
Brotli
Brotli是一种全新的数据格式,可以提供比Zopfli高20-26%的压缩比。据谷歌研究,Brotli压缩速度同zlib的Deflate实现大致相同,而在Canterbury语料库上的压缩密度比LZMA和bzip2略大。
cd module
git clone --recursive https://github.com/google/ngx_brotli
gperftool
gperftools是Google开源的一款非常使用的性能分析工具集
sudo apt-get install -y google-perftools libgoogle-perftools-dev libgoogle-perftools4lua
ngx_lua是Nginx的一个模块,将Lua嵌入到Nginx中,从而可以使用Lua来编写脚本,这样就可以使用Lua编写应用脚本,部署到Nginx中运行,即Nginx变成了一个Web容器;这样开发人员就可以使用Lua语言开发高性能Web应用了。
$ git clone https://github.com/openresty/lua-nginx-module.git
$ wget http://luajit.org/download/LuaJIT-2.0.5.tar.gz
$ tar -zxvf  LuaJIT-2.0.5.tar.gz
$ cd LuaJIT-2.0.5
$ make install PREFIX=/usr/local/luajit
安装成功最后一行输出会提示:
==== Successfully installed LuaJIT 2.0.5 to /usr/local/LuaJIT ====vim /etc/profile.d/lua.sh
export LUAJIT_LIB=/usr/local/luajit/lib
export LUAJIT_INC=/usr/local/luajit/include/luajit-2.0
export LD_LIBRARY_PATH=/usr/local/lib/:$LUAJIT_LIB目前lua-nginx-module的最新release版本是v0.10.19,使用该版本在测试过程中遇到报错如下:
nginx: [alert] failed to load the 'resty.core' module (https://github.com/openresty/lua-resty-core); ensure you are using an OpenResty release from https://openresty.org/en/download.html (reason: module 'resty.core' not found:
	no field package.preload['resty.core']
	no file './resty/core.lua'
	no file '/usr/local/share/luajit-2.1.0-beta3/resty/core.lua'
	no file '/usr/local/share/lua/5.1/resty/core.lua'
	no file '/usr/local/share/lua/5.1/resty/core/init.lua'
	no file './resty/core.so'
	no file '/usr/local/lib/lua/5.1/resty/core.so'
	no file '/usr/local/lib/lua/5.1/loadall.so'
	no file './resty.so'
	no file '/usr/local/lib/lua/5.1/resty.so'
	no file '/usr/local/lib/lua/5.1/loadall.so') in /usr/local/src/nginx/conf/nginx.conf:117
在下面的链接中找到了答案,使用v0.10.14版本即可:
https://github.com/openresty/lua-resty-core/issues/248编写编译脚本
以下的编译脚本包含了很多其他Nginx模块,实际安装时可以按需安装。创建一个 build.sh
脚本文件。填写以下内容。(模块可按需添加)
Lua 模块安装可参考该文 ,因为我之前安装过,所以很多依赖没有在本文中体现
#!/bin/bash

# set -x
# set -e


./auto/configure \
--add-module=./modules/ngx_cache_purge \
--add-module=./modules/ngx_devel_kit \
--add-module=./modules/ngx_brotli \
--add-module=./modules/nginx-rtmp-module \
--add-module=./modules/ngx_devel_kit \
--add-module=./modules/echo-nginx-module \
--add-module=./modules/headers-more-nginx-module \
--add-module=./modules/lua-nginx-module \
--add-module=./modules/ngx_pagespeed \
--with-ld-opt=-Wl,-rpath,/usr/local/luajit/lib  \
--with-cc-opt="-I../boringssl/include" --with-ld-opt="-L../boringssl/build/ssl -L../boringssl/build/crypto" \
--with-file-aio \
--with-http_flv_module \
--with-http_gunzip_module \
--with-http_gzip_static_module \
--with-http_ssl_module \
--with-http_v2_module \
--with-http_realip_module \
--with-http_addition_module \
--without-mail_pop3_module \
--without-mail_imap_module \
--without-mail_smtp_module \
--with-http_sub_module \
--with-http_auth_request_module \
--with-http_stub_status_module \
--with-google_perftools_module \
--with-http_secure_link_module \
--with-http_mp4_module \
--with-stream \
--with-http_v3_module
编译
bash build.sh
make -j 16
编译产物在 objs 目录中,将 nginx 二进制可执行文件copy到指定 /usr/local/sbin 下。
验证
提供基础的配置文件如下。配置文件可按实际情况进行调整。需要使用add_header alt svc来确保web浏览器知道服务器支持http/3。
- 由于HTTP/3需要使用udp协议端口,请注意开放对应的防火墙
- http2监听的是443的tcp端口,而http3监听的是udp端口
- nginx中添加了$http3和$quic变量,可以添加到日志中,这样就可以看到是否使用了HTTP/3来进行访问了
- 如果有多个server_name,在不指定IP的情况下,只需要在任意一个配置了listen 443 http3 quic reuseport;那么其他所有server_name都会开启HTTP3,并且不需要再添加该配置否则会报错(不知道后续会不会把报错去掉),如果需要部分server_name开启HTTP/3,请指定监听IP。
http3增加了http3_max_table_capacity、http3_max_blocked_streams、http3_max_concurrent_pushes、 http3_push、http3_push_preload这六个变量来控制http3的性能
server{
    listen 443 http3 quic reuseport;
    listen 443 ssl http2;
    server_name kiosk007.top;

	# 该选项用于开启address validation,但是会和0-RTT冲突
    # quic_retry on;
    ssl_early_data on;

    http3_max_field_size 5000;
    http3_max_table_capacity 50;
    http3_max_blocked_streams 30;
    http3_max_concurrent_pushes 30;
    http3_push 10;
    http3_push_preload on;

    add_header Alt-Svc 'h3=":8443"; ma=86400';

    ssl_certificate /etc/letsencrypt/live/kiosk007.top/fullchain.pem;
    ssl_certificate_key /etc/letsencrypt/live/kiosk007.top/privkey.pem;
    include /etc/letsencrypt/options-ssl-nginx.conf;
    ssl_dhparam /etc/letsencrypt/ssl-dhparams.pem;


    location /ping {
            default_type text/html;
            return 200 "pong";
    }

}
本地测试的时候不要开 quic_retry on; (路径验证) 。否则连不上
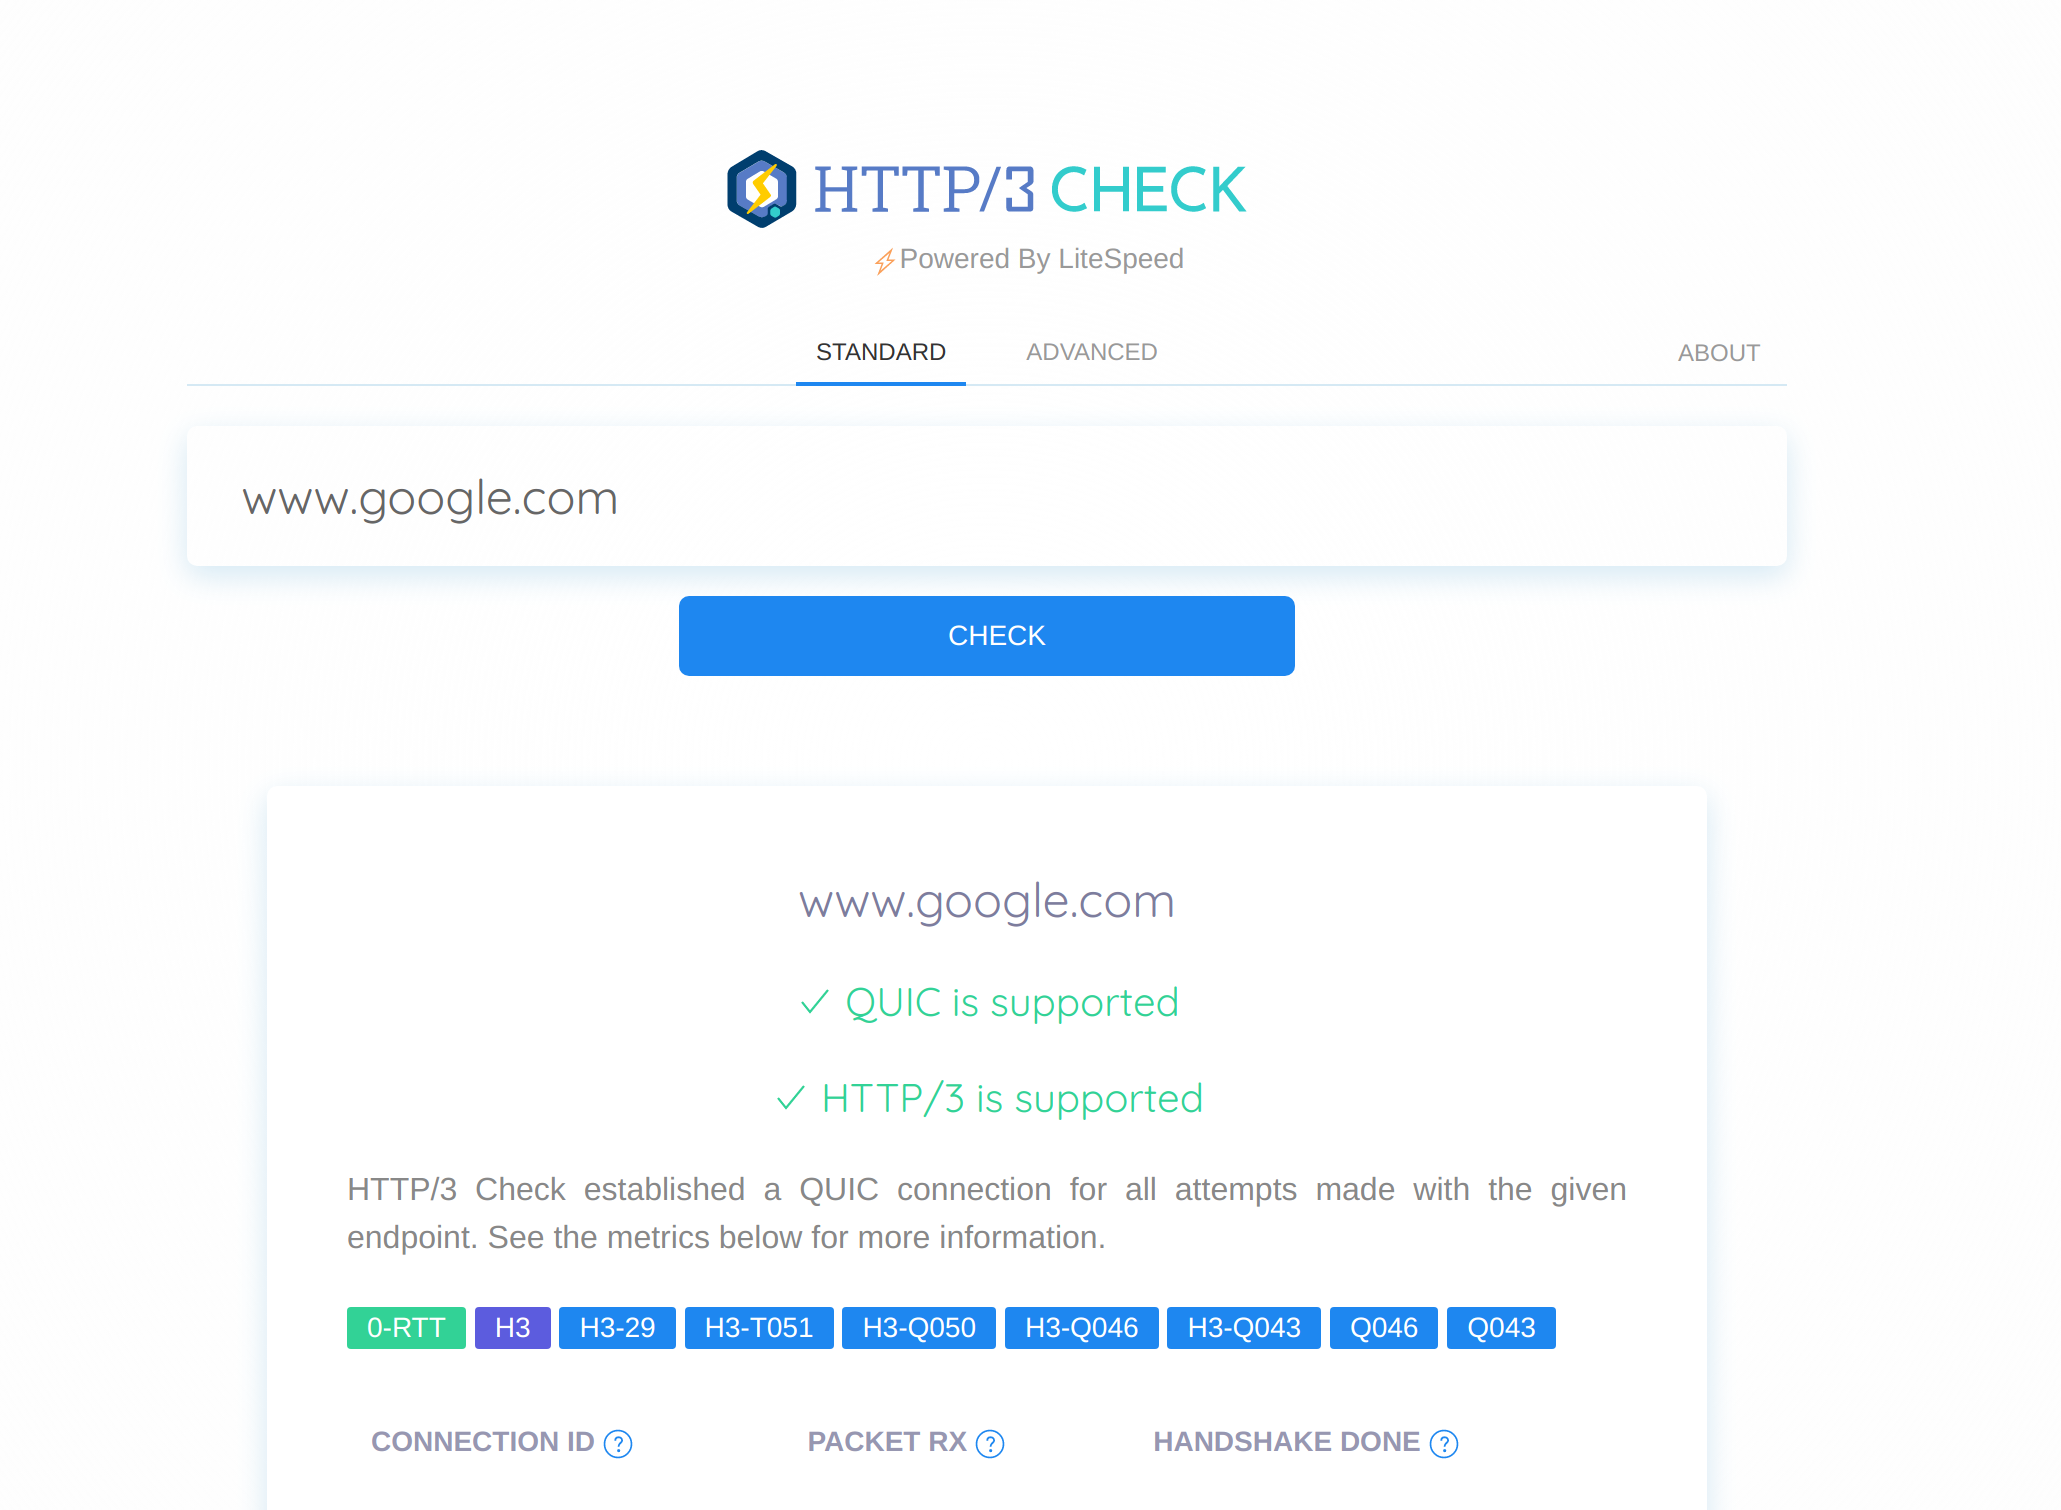
目前的主流浏览器Firefox和Chrome都支持了HTTP/3协议。
- Chrome
nginx 的官网提示说Chrome需要83+版本才支持HTTP/3,实测在部分网站(如google.com)确实可以使用HTTP/3的某些草案版本,但是Chrome目前来说默认还是不支持h3-27协议,我们需要手动开启。对于Linux系统而言,我们使用命令行+指定参数的方式开启h3-27的支持:
/usr/bin/google-chrome-stable --enable-quic --quic-version=h3-27 --origin-to-force-quic-on=webtransport.kiosk007.top:443还可以如下网站去验证测试。